

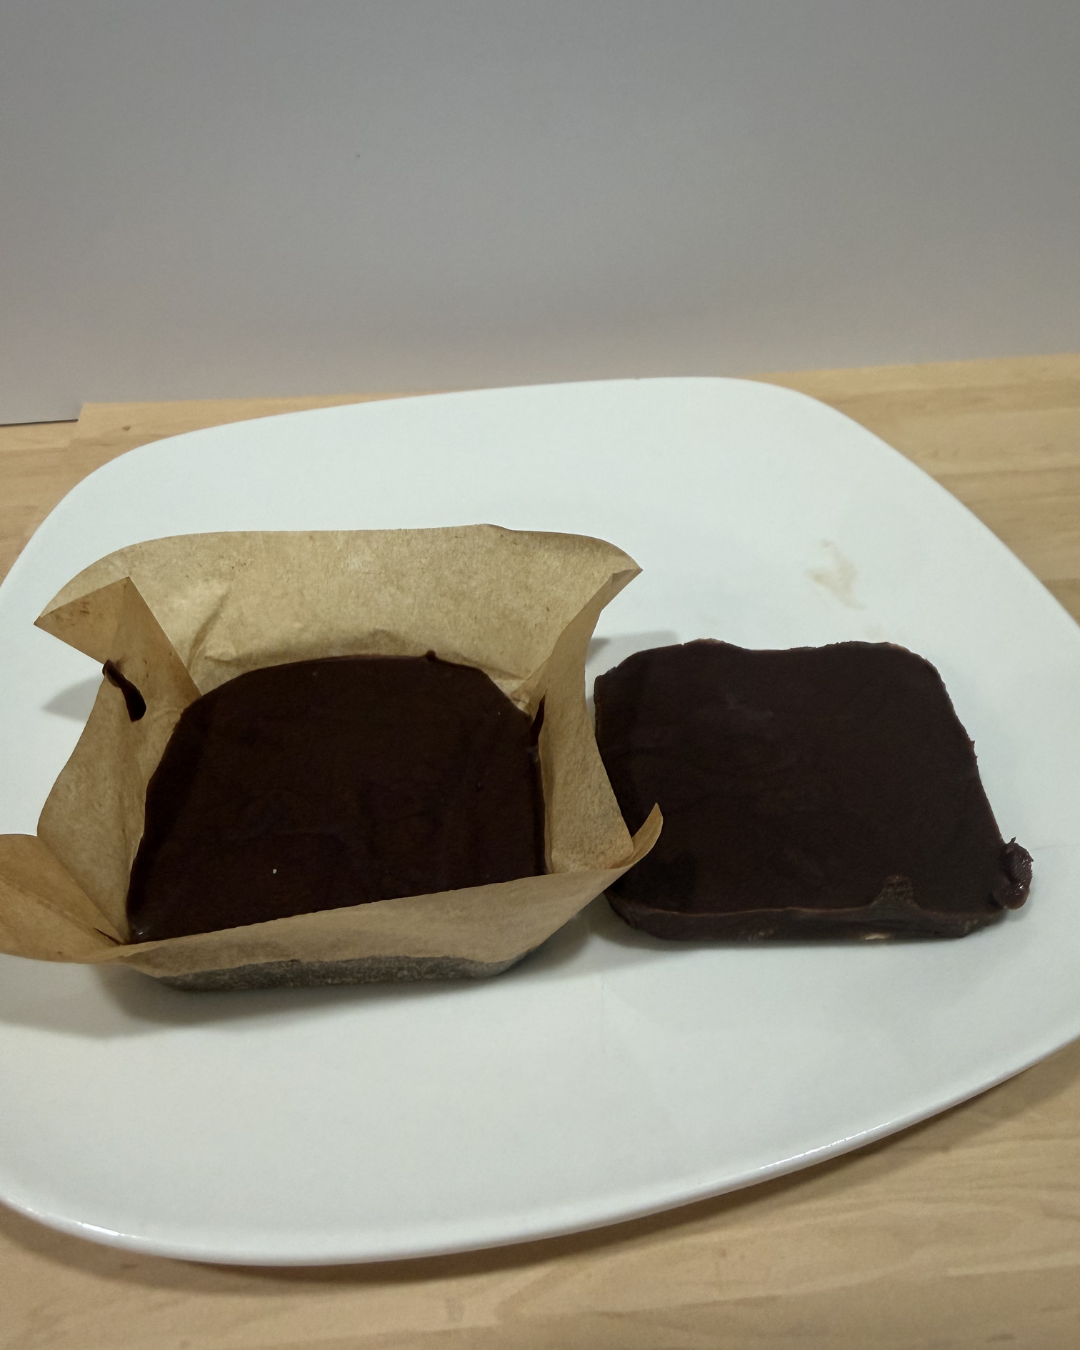
This is the fudge you make when you want one or two pieces — not a pan of 36, not a holiday batch to wrap and gift, just one generous serving of rich, glossy chocolate fudge that comes together in five minutes and sets in the refrigerator while you find something else to do for 45 minutes.
No candy thermometer. No soft ball stage. No standing over a pot watching sugar cook. Just chocolate chips, sweetened condensed milk, butter, vanilla, and a pinch of salt — melted together in a microwave and poured into a ramekin. That’s the whole recipe.
Why This Works Without a Thermometer
Traditional fudge is essentially a cooked sugar syrup that has to hit a very specific temperature to set correctly. Too low and it stays soft. Too high and it becomes grainy. The thermometer isn’t optional for the stovetop version — it’s doing critical work.
This recipe sidesteps all of that. The sweetened condensed milk is already a cooked, concentrated dairy-and-sugar mixture that provides the binding structure fudge needs. Melted into chocolate chips and butter, it creates a stable, glossy mixture that sets firmly in the refrigerator without any temperature management on your part. You’re not making candy in the traditional sense — you’re combining ingredients that already have the right properties built in.
The result is what I’d call a confectioner’s fudge rather than old-fashioned cooked fudge. Denser, smoother, and more reliable — especially at single-serving scale where traditional fudge chemistry becomes even harder to control.
The Chocolate Matters
Semi-sweet chocolate chips are the baseline and produce the most balanced result — rich chocolate flavor without being too sweet or too bitter. Good quality chocolate chips make a noticeable difference here because chocolate is the primary flavor and there’s nothing to hide behind.
Milk chocolate chips work but the result is sweeter and softer — reduce the sweetened condensed milk slightly if you go this route since milk chocolate already has more sugar. Dark chocolate chips push the fudge toward more intense, less sweet territory which is excellent if that’s your preference.
If you keep a Homemade Sweetened Condensed Milk Mix — thisoldbaker.com/sweetened-condensed-milk-mix/ in your pantry, this is a perfect one-tablespoon application — mix up just what you need rather than opening a can for a tablespoon and storing the rest.
The Microwave Step
Chocolate and butter go in first, sweetened condensed milk goes in after. This matters. Adding condensed milk before the chocolate has melted can cause the mixture to seize — become thick, grainy, and unworkable. Melt the chocolate and butter together first until smooth, then stir in everything else.
Start with 20 seconds at full power and stir well. The chocolate may not look fully melted but stirring often finishes the job from residual heat. If it needs more time, go in 5-second increments rather than long bursts — chocolate scorches quickly and scorched chocolate cannot be saved.
Once everything is combined the mixture should be glossy and smooth. If it looks dull or slightly grainy, stir vigorously for another 30 seconds — sometimes the emulsion just needs more stirring to come together.
Setting It Up
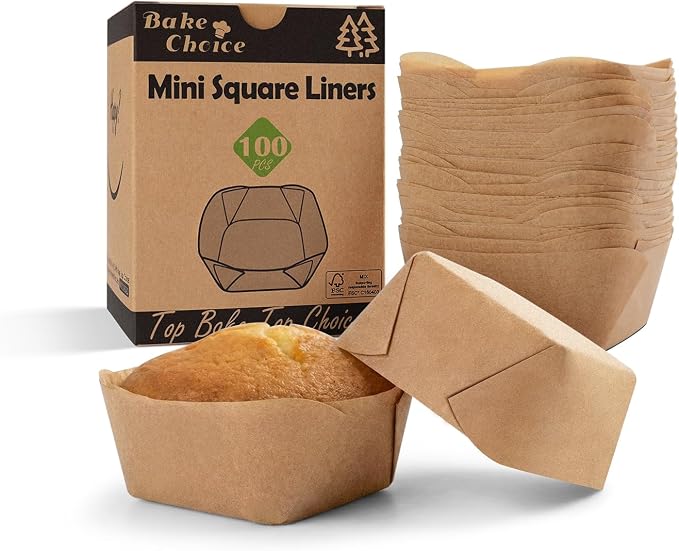
A small ramekin is the ideal vessel — the fudge sets into a thick, sliceable layer that looks intentional. A silicone muffin cup works if that’s what you have. The size of the vessel determines the thickness of the finished fudge — a wider ramekin gives you a thinner piece, a narrower one gives you a thicker block.
Smooth the top with the back of a spoon before it goes in the refrigerator. Add any toppings immediately — flaky sea salt, chopped nuts, mini chocolate chips, sprinkles — while the surface is still warm and tacky enough for them to stick. Toppings added after chilling don’t adhere.
Chilled vs. Room Temperature
Straight from the refrigerator the fudge is firm and snappy — clean bite, dense texture, intensely chocolatey because cold temperature mutes sweetness and amplifies chocolate flavor. Let it sit at room temperature for five minutes and it softens slightly into something that melts more slowly on your tongue. Both are good. Cold is more fudge-like; room temperature is more ganache-like. Your call.
Topping Ideas
Flaky sea salt is the most reliable upgrade — the contrast against the sweet, dense chocolate is exactly what makes salted chocolate anything better than plain chocolate anything. A small pinch goes on before refrigerating.
Chopped pecans or walnuts add crunch and a slight bitterness that plays well against the sweet base. Crushed peppermint candies turn it into a holiday piece worth making. Rainbow sprinkles make it festive without changing the flavor. Mini chocolate chips double down on the chocolate.
After it sets, a drizzle of Microwave Salted Caramel Sauce — thisoldbaker.com/microwave-salted-caramel-sauce over the top just before serving turns a simple piece of fudge into something that looks like it came from a chocolate shop.
Flavor Variations
Peanut butter fudge: swap the chocolate chips for peanut butter chips and use the same quantities. The result is a sweet, rich peanut butter fudge with the same easy technique.
Chocolate peanut butter swirl: make the base recipe, then drop a small spoonful of peanut butter onto the surface before refrigerating and swirl it in with a toothpick. The peanut butter firms up as the fudge chills.
Mocha fudge: add a quarter teaspoon of instant espresso powder with the vanilla. The coffee deepens the chocolate flavor without making it taste like coffee — it just makes the chocolate taste more like chocolate.
White chocolate: substitute white chocolate chips. White chocolate is sweeter and softer than semi-sweet, so reduce the condensed milk to two teaspoons and chill slightly longer. Pairs well with crushed freeze-dried raspberries pressed into the top.
Storage
Covered in the refrigerator up to five days. It stays firm and the flavor actually develops slightly over the first 24 hours as the condensed milk and chocolate fully meld. Freezes well for up to two months — wrap tightly and thaw in the refrigerator overnight.
If you’re in a no-bake chocolate mood, the Peanut Butter Fudge No-Bake Cookies — thisoldbaker.com/peanut-butter-fudge-no-bake-cookies are another five-ingredient stovetop option that hits a completely different texture — chewy and oat-based rather than dense and smooth, but the same chocolate-peanut butter territory.
Frequently Asked Questions
Can you make fudge in the microwave?
Yes — and this microwave method is more reliable than traditional stovetop fudge for small batches. The sweetened condensed milk acts as a stabilizer that eliminates the need for a candy thermometer or precise temperature control. You melt the chocolate and butter in the microwave, stir in the condensed milk and vanilla, pour into a ramekin, and refrigerate. No sugar syrup, no soft ball stage, no risk of a grainy batch.
How long does single serving fudge take to set?
45 to 60 minutes in the refrigerator. It needs to be fully cold to firm up completely — at room temperature the condensed milk and chocolate mixture stays soft and doesn’t reach the right fudge consistency. Don’t try to speed it up in the freezer; it will set but the texture can become icy rather than smooth.
Why did my fudge turn out grainy?
Usually one of two causes. The chocolate scorched in the microwave — this produces a gritty texture that can’t be fixed. Next time use shorter microwave intervals and stir between each. Or the mixture seized when the condensed milk was added to chocolate that wasn’t fully melted. Make sure the chocolate and butter are completely smooth before adding the condensed milk.
Can I use milk chocolate instead of semi-sweet?
Yes — milk chocolate produces a sweeter, softer fudge. Reduce the sweetened condensed milk to about 2½ teaspoons rather than a full tablespoon, since milk chocolate already has more sugar and a higher fat content than semi-sweet. The fudge may need a slightly longer chill time to firm fully.
Can I double this recipe?
Yes — double all ingredients and use a slightly larger vessel. The setting time stays the same. For a small square of fudge to share between two people, doubling into a 3-inch square silicone mold or a small loaf pan lined with parchment produces a piece you can slice in half cleanly.
Small Batch Chocolate Fudge
Equipment
Ingredients
- ¼ cup semi-sweet chocolate chips
- 1 tablespoon sweetened condensed milk
- 1 tablespoon unsalted butter
- ¼ teaspoon vanilla extract
- Pinch of salt
Instructions
- Place the chocolate chips and butter in a small microwave-safe bowl or ramekin.
- Microwave for 20 seconds. Stir well. If needed, microwave in 5-second intervals until smooth.
- Stir in the sweetened condensed milk, vanilla, and salt until the mixture is glossy and smooth.
- Spoon into a small ramekin or silicone muffin cup and smooth the top.
- Refrigerate for 45–60 minutes, or until firm.
- Enjoy chilled or let sit at room temperature for 5 minutes before serving for a softer texture.

Leave a Reply