

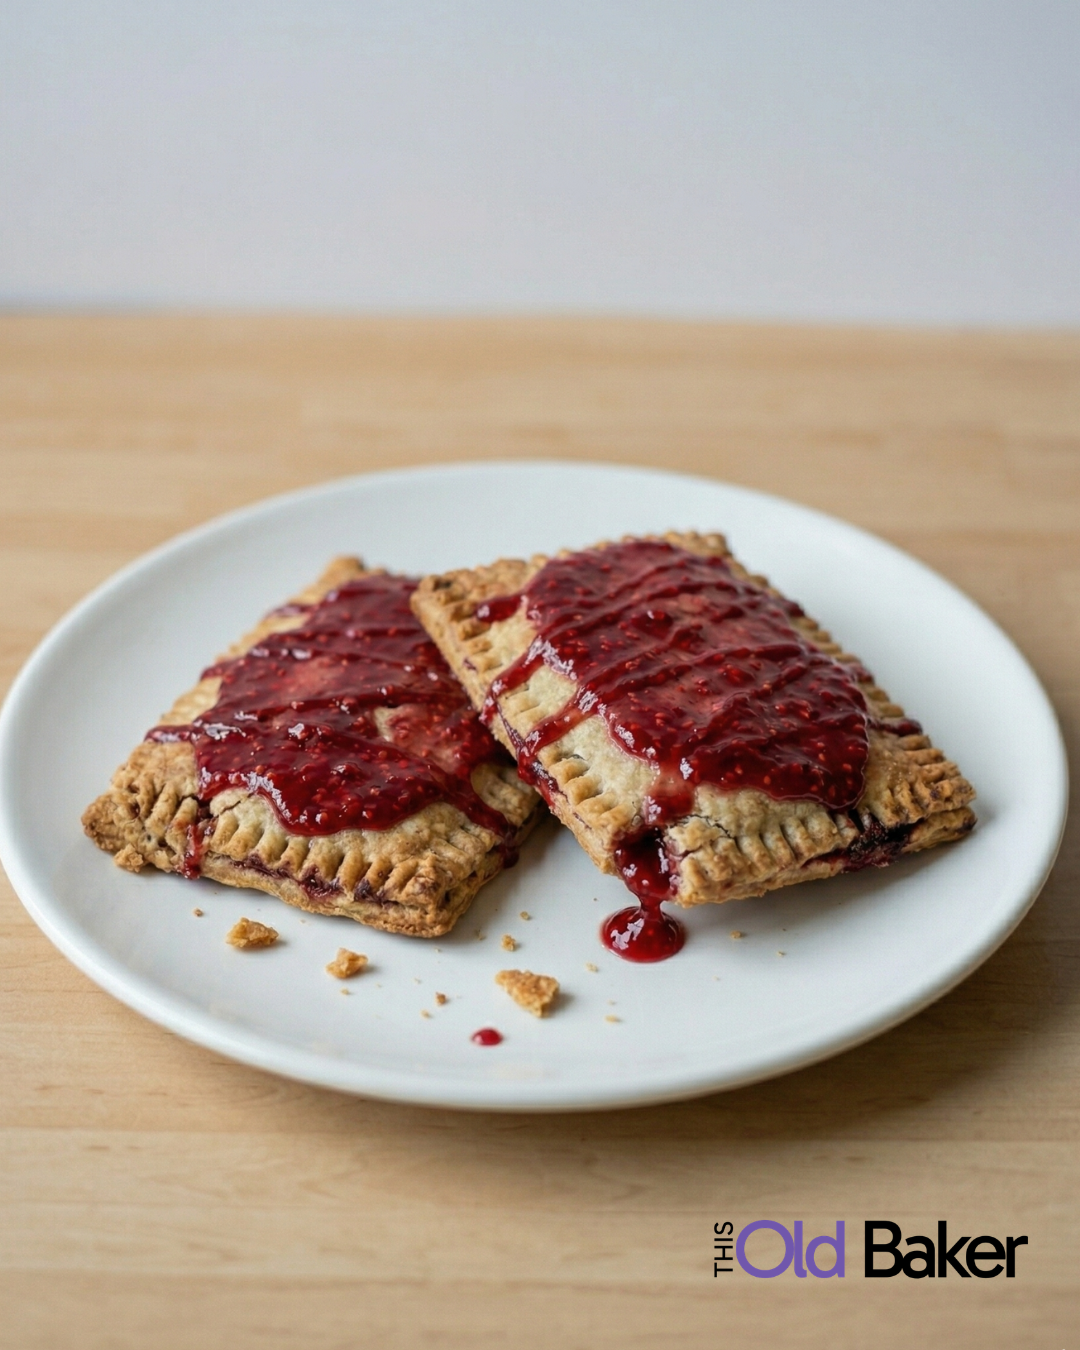
Pop Tarts are one of those things most of us grew up with.
They were quick, easy, and honestly… just part of the routine. Toss them in the toaster, grab one on the way out the door, and call it breakfast.
Nothing fancy. Just something that worked.
Making them at home isn’t about trying to be impressive or turning everything into a big project. It’s just taking something familiar and making it a little better with what you already have.
That’s it.
Homemade Pop Tarts are still simple. You’re still working with a basic dough and a sweet filling. The difference is you control what goes in them and how they turn out.
They’re softer than the boxed version. A little more filling. A little less dry. And you can make them exactly how you like.
Use whatever jam is in the fridge. Use something you canned. Use up something that needs to go.
It doesn’t have to be perfect to work.
That’s really the point here.
This is one of those recipes that fits into real life. The kind you can make without overthinking it. The kind that doesn’t require a special trip to the store or a full afternoon in the kitchen.
And once you make them once, it clicks.
You realize you don’t have to rely on the box version if you don’t want to. You can keep it just as easy, just a little more homemade.
They’re also easy to work into your routine.
Make a batch and keep them on the counter for a couple days. Stick a few in the fridge. Freeze some if you want to get ahead.
Now you’ve got something ready when mornings are rushed or when someone wants something quick.
That’s where this really pays off.
It’s not about making everything from scratch every day. It’s about having a few things on hand that make your life easier.
This is one of those things.
And the flavor options are endless without adding extra work.
Keep it classic with fruit. Do a brown sugar version. Add a little cinnamon. Use chocolate if that’s what you’ve got.
You don’t need a dozen variations. Just change the filling and it feels like something new.
Another thing to keep in mind—these don’t have to look perfect.
Edges might not match exactly. Some might leak a little. They might not be all the same size.
That’s normal.
They still taste good. They still do the job.
And honestly, that’s how most real kitchens look.
If you’ve been trying to cook more at home, this is a good place to start.
It’s simple. It’s flexible. And it actually gets used.
No complicated steps. No special equipment. No pressure to get it just right.
Just a basic, solid recipe that works.
That’s the goal.
Not perfect. Not fancy.
Just something you can make, enjoy, and come back to again when you need it.
Homemade Pop Tarts (From Scratch)
Ingredients
For the pastry:
- 2 cups all-purpose flour
- 1 tablespoon sugar
- ½ teaspoon salt
- 1 cup cold butter, cubed (2 sticks)
- 4 tablespoons ice water more if needed.
For the filling:
- 1 cup thick jam or preserves strawberry, raspberry, etc.
For the glaze:
- 1 cup powdered sugar
- 1 –2 tablespoons milk
- ½ teaspoon vanilla
Instructions
Make the dough
- In a bowl, mix flour, sugar, and salt. Cut in the cold butter until crumbly (pea-sized pieces). Add ice water 1 tablespoon at a time until dough comes together.
- Divide in half, flatten into discs, wrap, and chill at least 30 minutes.
Roll & cut
- Roll dough out to about ⅛ inch thick. Cut into rectangles (roughly 3×4 inches—you don’t have to be perfect).
Fill
- Place half the rectangles on a lined baking sheet. Add about 1 tablespoon filling in the center, leaving edges clear.
- Top with remaining rectangles.
Seal
- Press edges with a fork to seal. Poke a few holes in the top so steam can escape.
- 👉 Optional but worth it: chill assembled pop-tarts 10–15 minutes to help them hold shape.
Bake
- Bake at 375°F for 20–25 minutes, until lightly golden.
- Cool completely before glazing.
Glaze
- Whisk glaze ingredients and spread over cooled pop-tarts. Add sprinkles if you’re feeling it.
Notes
Chocolate (Nutella or chocolate spread)
Strawberry + cream cheese
Apple pie filling Tips (these matter)
Keep everything cold → that’s your flaky pastry
Don’t overfill → prevents leaks
Thicker jam = better results
Chill before baking = cleaner edges Storage
Counter: 2–3 days
Fridge: up to 5 days
Freezer: up to 2 months (toast to reheat)


Leave a Reply